Floor Installation or Replacement: Costs, Tips, and Steps
Your floor takes a beating every single day. Foot traffic, pets, spills, and furniture all leave their mark. When that wear becomes too obvious or the flooring style feels dated, you face a decision: install new flooring or replace the old one entirely. The difference matters more than you think. New installation often means adding flooring to a space that never had it, while replacement involves tearing out the existing surface and starting fresh. Both projects demand careful planning, a realistic budget, and a skilled contractor. This guide walks you through every factor, cost, and step so you can approach your floor installation or replacement with confidence.
Understanding Floor Installation vs Replacement
Many homeowners use the terms interchangeably, but they are not the same. Floor installation refers to putting down a new floor in a room that currently has no finished surface. That could be a concrete subfloor in a basement, a plywood underlayment in a new addition, or even a space where you removed carpet and want to lay hardwood. Replacement, on the other hand, means removing the existing flooring material and installing something new in its place. The old floor could be tile, laminate, vinyl, or carpet. The process for each can differ in labor, disposal costs, and subfloor preparation.
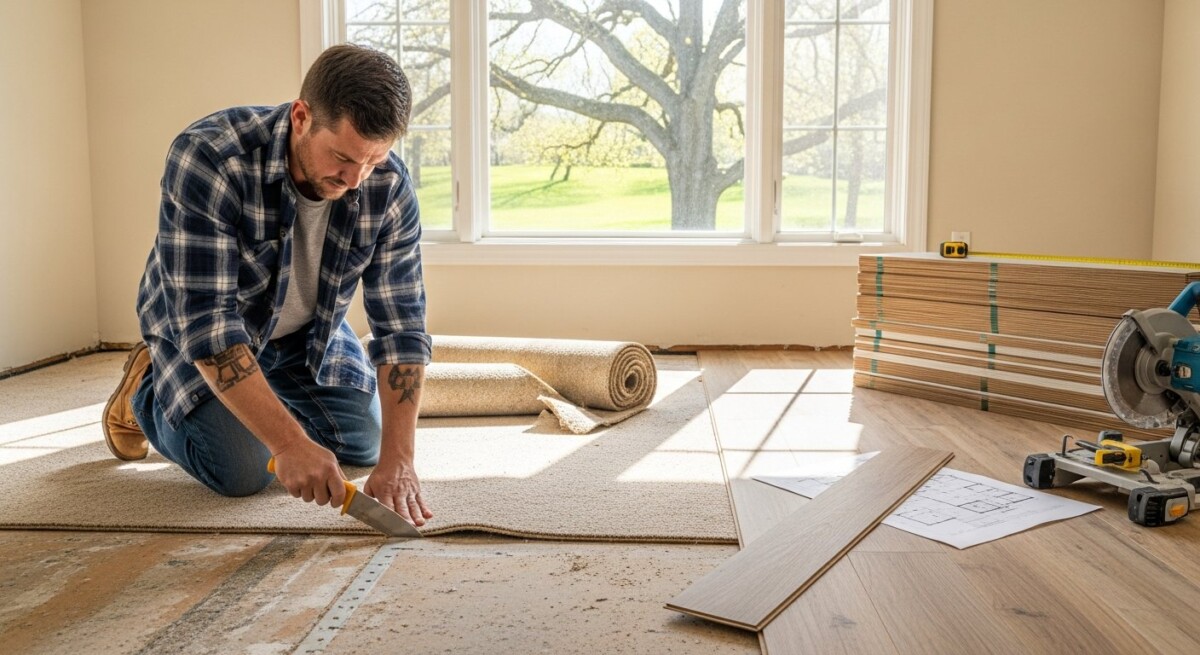
For example, replacing a worn-out carpet with luxury vinyl plank may involve pulling up carpet, removing tack strips, cleaning the subfloor, and then installing the new material. A new installation on a bare concrete slab might require moisture testing, leveling compound, and a vapor barrier before you can lay anything down. Understanding this distinction helps you ask the right questions when getting quotes. It also affects your timeline and budget. If you are unsure which category your project falls under, a professional estimator can clarify during a site visit.
Key Factors to Consider Before Starting
Before you order materials or hire anyone, take time to evaluate your space, lifestyle, and long-term plans. The wrong choice can lead to regret and extra expense down the road. Here are the most important factors to weigh:
- Room function and traffic level – A kitchen sees spills and heavy foot traffic; a bedroom needs comfort and quiet. Choose materials that match the room’s demands.
- Subfloor condition – If your subfloor has moisture issues, cracks, or uneven spots, those must be resolved before any installation. Ignoring them leads to premature failure.
- Climate and humidity – Solid hardwood expands and contracts with moisture. In humid regions, engineered wood or luxury vinyl may perform better. Concrete slabs in basements often need a vapor barrier.
- Budget for both materials and labor – Flooring costs vary widely per square foot. Remember to factor in underlayment, adhesives, trim, and disposal fees. Getting multiple contractor estimates gives you a realistic range.
- Your timeline – Some materials require acclimation time. Tile work may involve multiple days for setting and grouting. Plan for the room to be out of use during the project.
Once you have a clear picture of these factors, you can narrow down your material choices. Each option has its own pros, cons, and price points. The best floor for your neighbor may not be the best for your home because of these unique conditions.
Popular Flooring Materials and Their Costs
The material you choose drives the cost, durability, and appearance of your floor installation or replacement. Below is a breakdown of the most common options, including typical price ranges per square foot (installed).
Hardwood
Solid hardwood delivers timeless beauty and can be refinished multiple times. It usually costs $8 to $15 per square foot installed. Species like oak, maple, and hickory are popular. The main drawback is sensitivity to moisture, making it less ideal for basements or bathrooms. Engineered hardwood offers a similar look with better stability for below-grade rooms, often running $6 to $12 per square foot.
Luxury Vinyl Plank (LVP) and Luxury Vinyl Tile (LVT)
LVP and LVT have become favorites for their water resistance, realistic wood or stone visuals, and ease of installation. Costs range from $4 to $9 per square foot installed. They work well in kitchens, bathrooms, and basements. Some products are floating (click-lock), while others glue down. The thicker the wear layer, the more durable the floor.
Laminate
Laminate mimics hardwood at a lower price point, typically $3 to $7 per square foot installed. It consists of a photographic layer topped with a clear wear layer. Laminate is durable against scratches and dents but can swell if exposed to standing water. It is best for living rooms, bedrooms, and low-moisture areas.
Tile (Ceramic and Porcelain)
Tile is ideal for high-moisture areas like bathrooms, mudrooms, and kitchens. Porcelain is denser and more water-resistant than ceramic. Installed costs range from $5 to $15 per square foot, depending on tile size and complexity of the layout. Tile is hard underfoot and cold without radiant heating, but it lasts for decades with proper maintenance.
Carpet
Carpet remains a popular choice for bedrooms and cozy living spaces. Prices vary widely from $2 to $8 per square foot installed, based on fiber type (nylon, polyester, wool) and pad quality. Carpet provides warmth and sound absorption but requires frequent vacuuming and eventual replacement every 10 to 15 years.
Engineered and Solid Vinyl Sheets
Sheet vinyl is a budget-friendly waterproof option often found in laundry rooms and bathrooms. Installed cost is $3 to $6 per square foot. It comes in large rolls, which reduces seams and potential leaks. The downside is that repairs can be difficult because the entire sheet may need replacement.
When comparing costs, remember that the lowest material price does not always mean the best value. Installation complexity, subfloor prep, and long-term durability all affect the total investment.
The Step-by-Step Floor Installation or Replacement Process
A typical project follows a sequence of steps that professional contractors use to ensure quality. While DIY is possible for some materials like floating LVP or laminate, hiring a pro often saves time and prevents costly errors. Here is what to expect during a full floor installation or replacement.
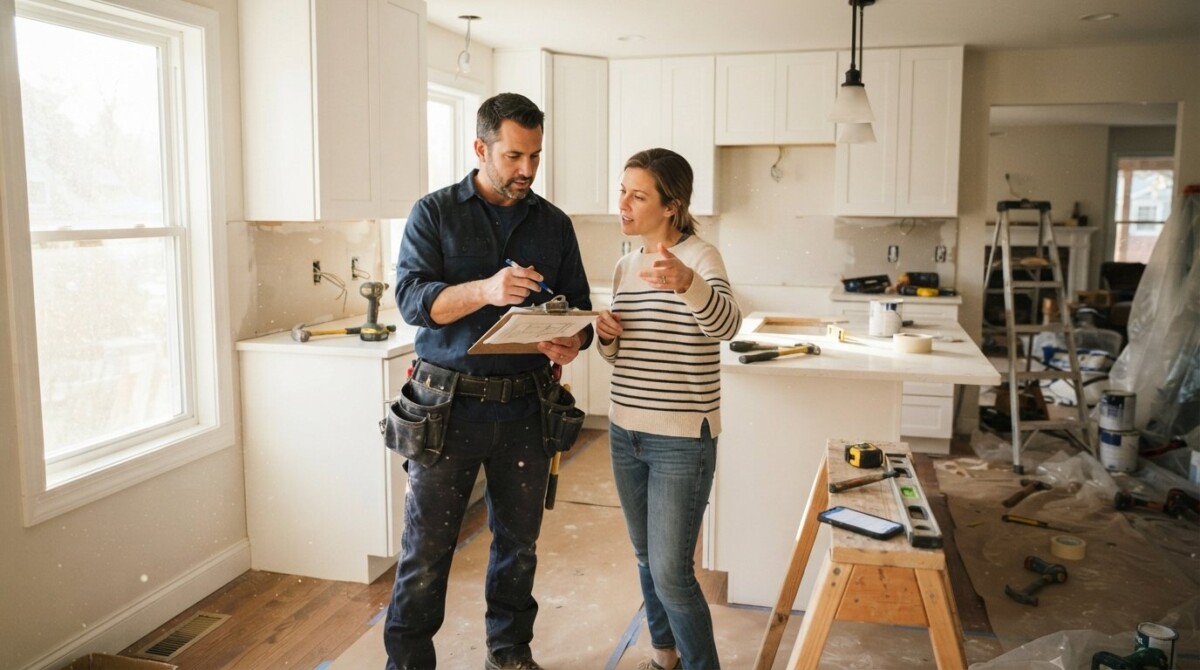
- Project assessment and measurement – The contractor measures the room, checks the subfloor, and discusses your material choice. They provide a written estimate detailing labor, materials, and timeline.
- Ordering materials and acclimation – Once you accept the bid, the contractor orders the flooring. Many products, especially hardwood and laminate, must sit in the room for 48 to 72 hours to adjust to temperature and humidity.
- Floor removal and preparation – For a replacement, the old flooring is removed and disposed of. Tack strips, adhesive residue, and debris are cleared. The subfloor is inspected for damage, leveled, and cleaned. Any necessary moisture barriers or underlayment are installed.
- Installation of new flooring – The contractor lays the new material according to manufacturer guidelines. For hardwood, this may involve nailing or stapling planks. For LVP and laminate, it is often a floating click-lock system. Tile requires setting in thin-set mortar and later grouting.
- Trim, transitions, and finishing – Baseboards or quarter-round are installed to cover expansion gaps. Transition strips are placed at doorways and where flooring meets other surfaces. The contractor cleans the area and does a final walk-through with you.
Depending on the size of the room and the material, the entire process can take anywhere from one to five days. Larger or more complex jobs may extend longer. Ask your contractor for a clear schedule before work begins so you can plan accordingly.
How to Choose a Reliable Flooring Contractor
The success of your floor installation or replacement depends heavily on the contractor you hire. Even the best material will fail if installed poorly. To find a qualified pro, start by asking for recommendations from neighbors or friends who recently had flooring work done. Online reviews on platforms like Google or Houzz can also provide insight, but always verify recent projects and look for trends in feedback.
Next, request at least three detailed quotes. Each quote should break down material costs, labor, disposal fees, and any subcontractor charges. Be wary of estimates that are significantly lower than others; they often cut corners with subpar materials or rushed labor. Ask for proof of licensing and insurance. A contractor who carries general liability and workers compensation protects you from liability if an accident happens on your property.
Finally, check references. A reputable contractor will gladly provide contact information for recent clients. Call them and ask about the project experience, timeline adherence, cleanliness, and whether any issues arose. If you feel uncertain about a particular company, trust your gut and continue searching. Platforms like HomeRemodelingLeads can help you connect with pre-screened flooring contractors in your area, saving you time and reducing the risk of hiring someone unqualified.
Budgeting for Your Floor Project
Creating an accurate budget for floor installation or replacement involves more than just the cost of materials and labor. You must also account for subfloor repairs, removal and disposal of old flooring, underlayment, and trim. Many homeowners overlook these additional expenses. For example, if your subfloor has water damage or uneven spots, the repair could add $200 to $800 or more depending on severity. Disposal fees typically run $100 to $300 for a standard room.
It is wise to set aside a contingency of 10 to 20 percent of the total project cost. This cushion covers unexpected issues like discovering asbestos in old vinyl tile, needing to replace rotted plywood, or deciding to upgrade to a thicker underlayment. When you get quotes, ask clearly what is included and what is not. Some contractors bundle disposal and subfloor prep, while others list them as optional add-ons. Knowing the full picture lets you compare apples to apples.
If you are a contractor reading this, consider how a clear and transparent quote can build trust with homeowners. Many customers appreciate seeing every line item. By offering detailed estimates, you reduce the chance of disputes later. And if you are looking to expand your client base, investing in quality leads from a service like HomeRemodelingLeads can keep your schedule full with homeowners who are ready to move forward.
No matter your role, a well-planned budget ensures your floor installation or replacement stays on track financially. The goal is a beautiful, durable floor that adds value to your home without breaking the bank.
Flooring is one of the most impactful upgrades you can make to a home. It changes the look, feel, and function of every room. By understanding the difference between installation and replacement, choosing the right material for your needs, and hiring a trustworthy contractor, you set the stage for a successful project. Take your time during the planning phase. The extra effort pays off in a floor that you will enjoy for years to come.
About the Author: David