
Tile Installation and Replacement: A Homeowner’s Guide
Tile flooring transforms a room’s appearance and functionality. Whether you are updating a bathroom, kitchen, or entryway, proper tile installation and replacement are critical to achieving a durable, beautiful result. Many homeowners underestimate the complexity involved, leading to costly mistakes. This guide provides a complete overview, from planning and budgeting to execution and maintenance. With the right knowledge, you can avoid common pitfalls and make informed decisions about your tile project.
Planning Your Tile Installation or Replacement Project
Before you purchase a single tile, thorough planning is essential. Start by assessing the room where the tile will be installed. High-moisture areas like bathrooms and laundry rooms require waterproof or water-resistant tile and proper subfloor preparation. Kitchens and entryways need durable, stain-resistant surfaces that can handle heavy foot traffic. Measure the space carefully, including any alcoves or irregular corners, and multiply length by width to get the square footage. Always add 10 to 15 percent extra for waste, cuts, and future repairs.
Next, consider the tile material. Ceramic and porcelain are the most popular choices due to their affordability and durability. Porcelain is denser and more water-resistant, making it ideal for wet areas. Natural stone (slate, marble, travertine) offers a premium look but requires more maintenance and a higher budget. Glass and mosaic tiles add decorative accents but are best used as borders or backsplashes. Each material has specific installation requirements; for example, natural stone often needs a reinforced substrate and special cutting tools.
Choosing the Right Tile Material
Your selection should balance aesthetics, budget, and performance. Ceramic tile is budget-friendly and easy to cut, but it can chip if not properly glazed. Porcelain tile is harder and less porous, making it suitable for both indoor and outdoor use. Natural stone tiles vary in hardness and porosity; sealing is mandatory to prevent stains. For a modern look, consider large-format tiles that reduce grout lines and create a seamless appearance. However, large tiles require a perfectly flat subfloor to avoid lippage (uneven edges).
Also think about the tile’s finish. Glossy finishes reflect light and make small rooms appear larger, but they show scratches and dirt more easily. Matte finishes hide wear better and provide slip resistance, an important factor for wet areas. Textured tiles are excellent for outdoor patios or shower floors. Finally, check the PEI rating (Porcelain Enamel Institute) for durability; a rating of 3 or higher is recommended for floors, while walls can use lower ratings.
Once you have chosen the tile, create a layout plan. Dry-lay a few rows to visualize the pattern and adjust for symmetry. Avoid narrow cuts at walls or doorways; instead, shift the layout so that cut tiles are at least half the size of a full tile. For complex patterns like herringbone or diagonal, you may need to order additional tile and hire a skilled installer.
Understanding Tile Installation Costs
Tile project costs vary widely based on material, room size, labor rates, and the complexity of the job. On average, homeowners spend between $7 and $25 per square foot for professional tile installation and replacement. Material costs form the largest portion: ceramic tile runs $1 to $5 per square foot, while porcelain ranges from $3 to $10. Natural stone can cost $5 to $20 or more per square foot. Labor typically adds $4 to $15 per square foot depending on the complexity of the layout and the region where you live.
Additional expenses include subfloor preparation, underlayment, mortar, grout, sealant, and trim pieces. If the existing floor needs to be removed, add $1 to $3 per square foot for demolition and disposal. For a broader comparison of flooring expenses, see our guide on floor installation or replacement costs, tips, and steps. This resource covers similar budgeting considerations for other flooring types, helping you decide which material fits your budget.
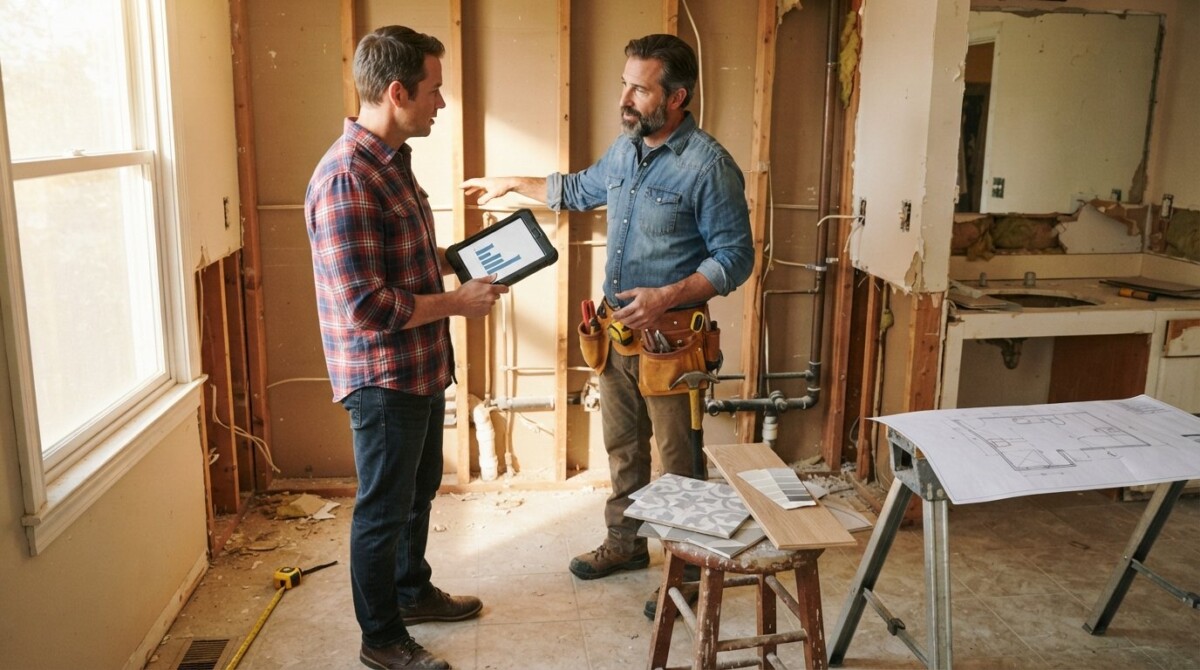
To get accurate estimates, obtain at least three quotes from licensed contractors. Ask for a detailed breakdown that includes materials, labor, removal of old flooring, and cleanup. Be wary of bids that are significantly lower than average; they may indicate shortcuts or low-quality materials. A reliable contractor will walk you through the scope of work and provide a timeline.
Step-by-Step Tile Installation Process
A successful tile installation follows a series of critical steps. Skipping any of them can lead to cracked tiles, uneven surfaces, or water damage. Here is the standard process used by professionals:
- Prepare the Subfloor , Remove old flooring and ensure the subfloor is clean, level, and dry. Use a self-leveling compound if needed. For concrete slabs, check for moisture and apply a vapor barrier.
- Install Underlayment , Apply cement backer board or a decoupling membrane over the subfloor. This prevents cracks from transferring to the tiles, especially on concrete or wood subfloors.
- Dry-Lay and Layout , Position tiles without adhesive to finalize the pattern. Use spacers to maintain consistent gaps (typically 1/8 to 1/4 inch). Mark reference lines using a chalk line.
- Apply Thin-Set Mortar , Mix thinset according to manufacturer instructions. Spread it with a notched trowel, holding the trowel at a 45-degree angle to create uniform ridges. Work in small sections to prevent the mortar from drying out.
- Set the Tiles , Press each tile firmly into the mortar, using a twisting motion to ensure full coverage. Tap with a rubber mallet to level. Check periodically with a spirit level. Continue setting tiles one row at a time.
- Cut and Fit Edge Tiles , Measure and cut tiles for edges, corners, and obstacles. Use a wet saw for straight cuts and a tile nipper or angle grinder for curves. Wear safety glasses and a mask.
- Allow Mortar to Cure , Let the mortar set for at least 24 hours before walking on the floor or applying grout. Check manufacturer instructions for specific cure times.
- Grout the Joints , Mix grout and apply it with a rubber float, pressing it diagonally across the joints. Wipe off excess grout with a damp sponge, being careful not to drag grout out of the joints. Wait 30 minutes and buff with a dry cloth.
- Seal the Grout (and Stone) , After 72 hours of curing, apply a penetrating sealer to the grout lines. For natural stone tiles, seal the entire surface. Reapply sealer every one to three years.
Following these steps ensures a long-lasting installation. For those tackling a DIY project, rent the necessary tools (wet saw, tile cutter, trowels) to achieve professional results. If the job feels overwhelming, hiring an experienced tile installer is a wise investment.
Common Tile Replacement Scenarios
Over time, tiles can crack, chip, or become stained. Replacing individual tiles is more economical than ripping out the entire floor. To replace a single tile, first score the grout around it with a grout saw or rotary tool. Then, carefully break the tile using a hammer and chisel, removing the pieces. Scrape out the old mortar and clean the substrate. Apply new thinset, set the replacement tile, and grout once cured. Matching the exact color and size can be difficult, so keep spare tiles from the original installation.
If multiple tiles are damaged or the floor is outdated, a full replacement may be necessary. In that case, assess the condition of the subfloor. Water damage or rot may require subfloor replacement before new tile can be installed. For bathrooms, consider waterproofing the entire floor with a liquid membrane before tiling. This extra step prevents future leaks and mold growth.
Proper subfloor preparation is similar for other flooring types, as discussed in our floor installation or replacement costs, tips, and steps article. That guide also covers alternative materials like luxury vinyl plank or laminate, which may be easier to install yourself if tile feels too daunting.
Hiring a Professional Tile Contractor
Even experienced DIYers sometimes defer to professionals for large or complex tile installations. A qualified tile contractor brings specialized tools, years of experience, and efficiency. When vetting contractors, ask for proof of licensing and insurance, request references from recent tile projects, and compare at least three bids. Look for contractors who specialize in tile work rather than general handymen; tile requires specific skills in layout, cutting, and waterproofing.
Ask about their process for subfloor preparation and waterproofing. A reputable contractor will insist on a decoupling membrane for concrete slabs and will not rush the curing process. Also inquire about warranties on both materials and labor. Many contractors offer a one-year warranty on installation work.
To find reputable tile professionals in your area, consider using a lead generation service that connects homeowners with pre-screened contractors. Our resource on floor installation or replacement costs, tips, and steps includes guidance on evaluating contractor quotes and avoiding common hiring pitfalls. Platforms like HomeRemodelingLeads help you receive matched bids from local tile specialists, saving you the time of vetting prospects on your own.
Maintaining Your New Tile Floor
Once your tile installation is complete, proper maintenance will keep it looking new for decades. Sweep or vacuum regularly to remove abrasive dirt and grit. Mop with a pH-neutral cleaner; avoid vinegar or acidic solutions that can damage grout and stone. For grout lines, use a stiff brush to scrub away buildup. Reseal grout every one to three years, or as recommended by the manufacturer.
If a tile becomes cracked or loose in the future, address it promptly to prevent water infiltration. Use the same replacement technique described earlier. Keep a small stock of spare tiles along with the original grout color for seamless repairs. Also, place doormats at entrances to reduce dirt tracking and use felt pads under furniture legs to prevent scratching.
Finally, consider the long-term value of your tile investment. Properly installed tile can last 50 years or more, making it one of the most durable flooring options available. By planning carefully, budgeting realistically, and either following the installation steps or hiring a skilled professional, you can enjoy a stunning tile floor that enhances your home’s beauty and resale value.
Tile installation and replacement is a rewarding project that, when done correctly, adds lasting value to your home. Whether you choose to DIY or hire a contractor, the key lies in preparation, quality materials, and attention to detail. With the insights from this guide, you are equipped to make confident decisions and achieve a result you will be proud of.
About the Author: Lila Kensington